Step One – Installing & Setting Up an Apache2 Web Server
- Log in as root
[root@router ~]$ su - - Update the package list and upgrade the server if not done in the previous check point:
[root@router ~]$ apt-get update -y && apt-get upgrdae -y - Install the apache2 server:
[root@router ~]$ apt-get install apache2 -y - Enable and Start apache2:
[root@router ~]$ systemctl enable apache2 && systemctl start apache2 - By default the apache2 port is pointed to port 80. To change port 80 to 8383 edit the file /etc/apache2/ports.conf using your favourite editor:
[root@router ~]$ nano /etc/apache2/ports.conf - Change 80 to 8383 as shown below:
# If you just change the port or add more ports here, you will likely also
# have to change the VirtualHost statement in
# /etc/apache2/sites-enabled/000-default.conf

Listen 8383

---

# vim: syntax=apache ts=4 sw=4 sts=4 sr noet
- After changing/modifying any configuration file it is necessary to restart the service:
[root@router ~]$ systemctl restart apache2
Open up your browser and visit localhost:8383 as shown below to see changes:
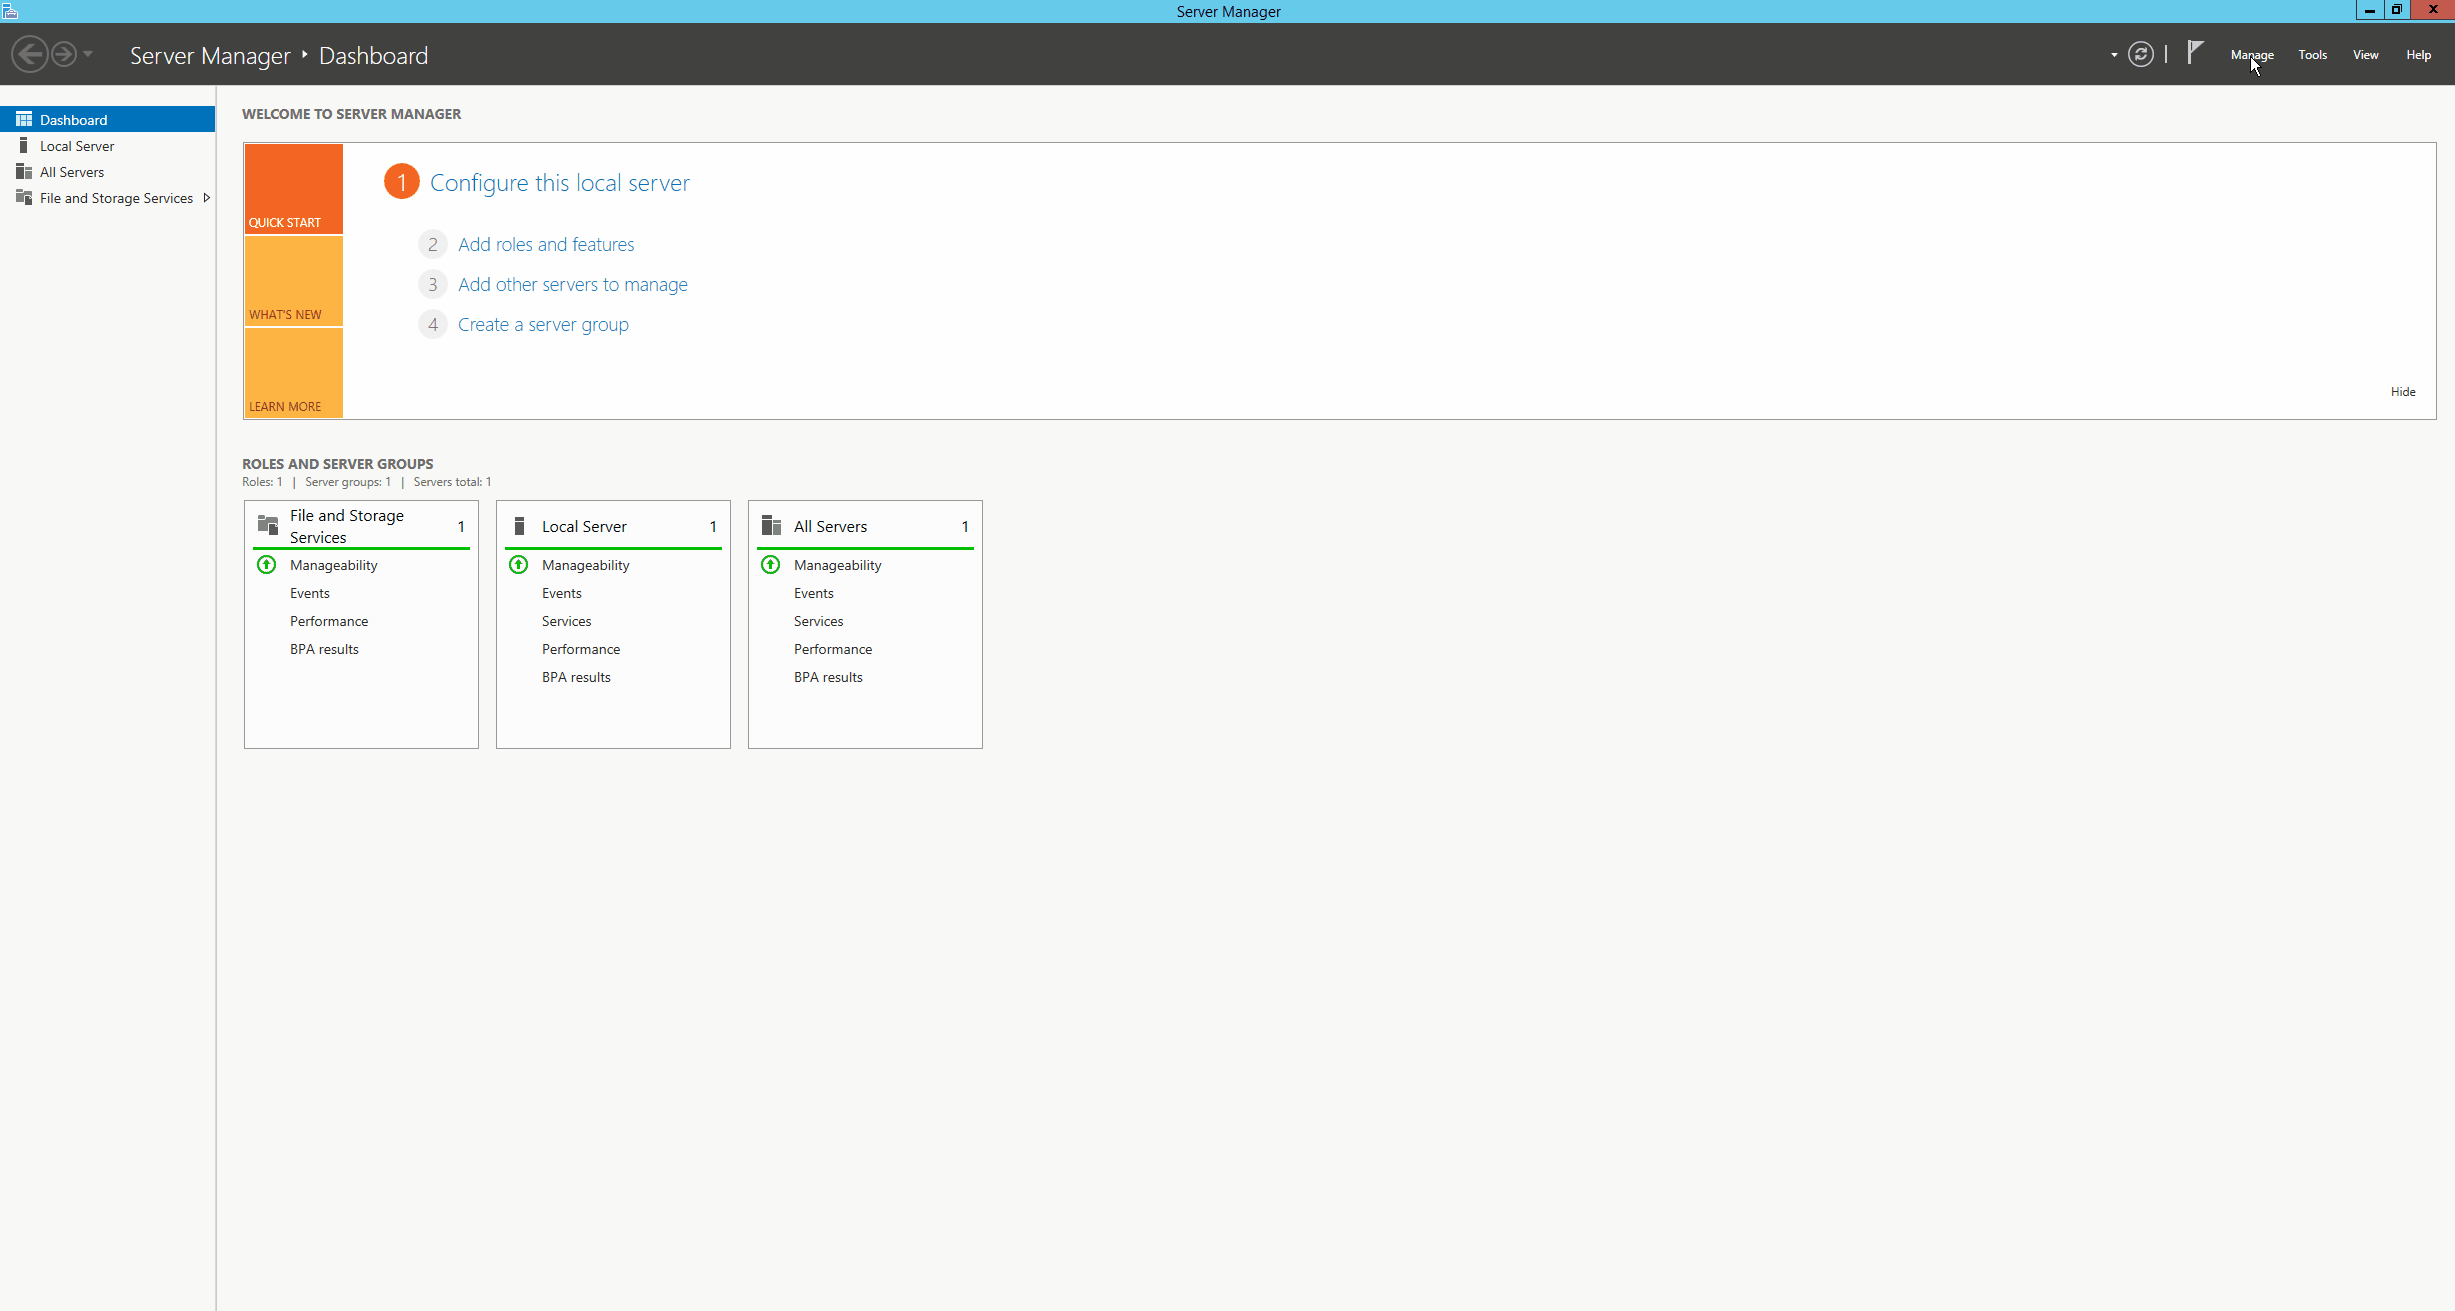
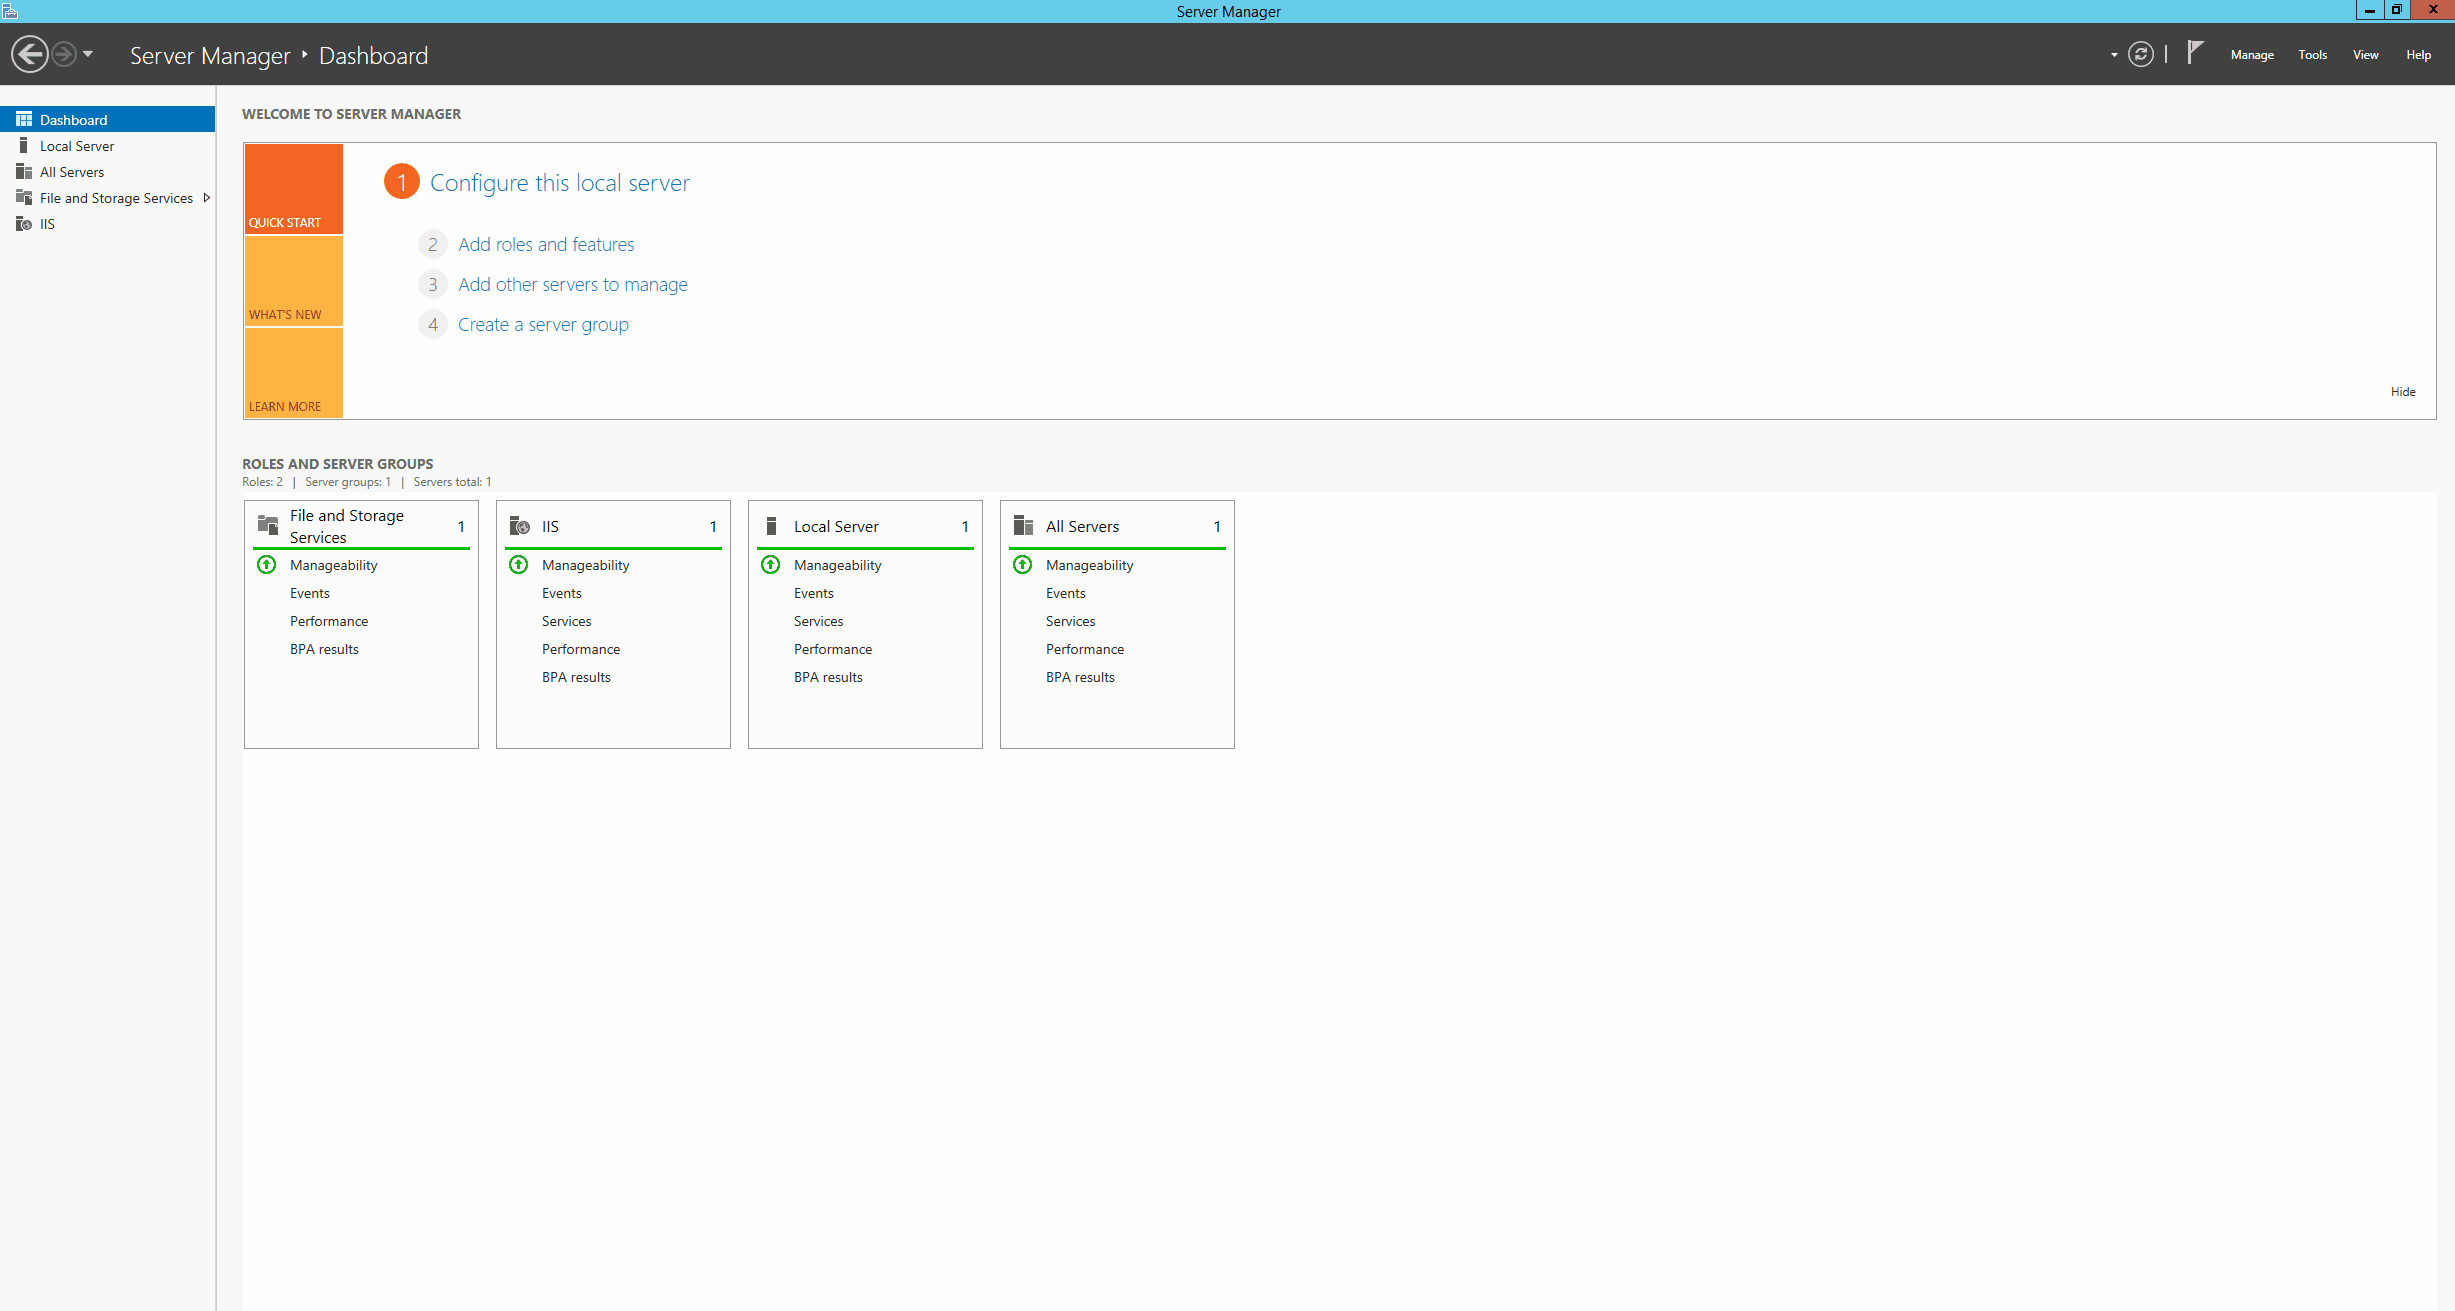
Step Two – Installing & Setting Up IIS on Windows Server 2012 R2
- Log in to the administrator account and Launch server manager.
- Click On Manage and then Add Roles and Features.
- Keep clicking next until the page Server Roles.
- Scroll down and Check the check box beside Web Server (IIS) and Accept.
- Keep Clicking Next and then Install.
Close the pop up window after installation
- Launch IIS
- In the left pane keep expanding until Default site and Double click it.
- In the right pane of default site click Bindings, change IP Address to your desired IP and change Port to 9393 and fill in your Host Name for example ‘winserv.username.com’.
- Close the pop up and Restart the website by click Restart in the right pane
Launch Internet Explorer and Visit IP:PORT to view your web page
Note: Visiting the site using your host name will not work because DNS has not been configured yet.
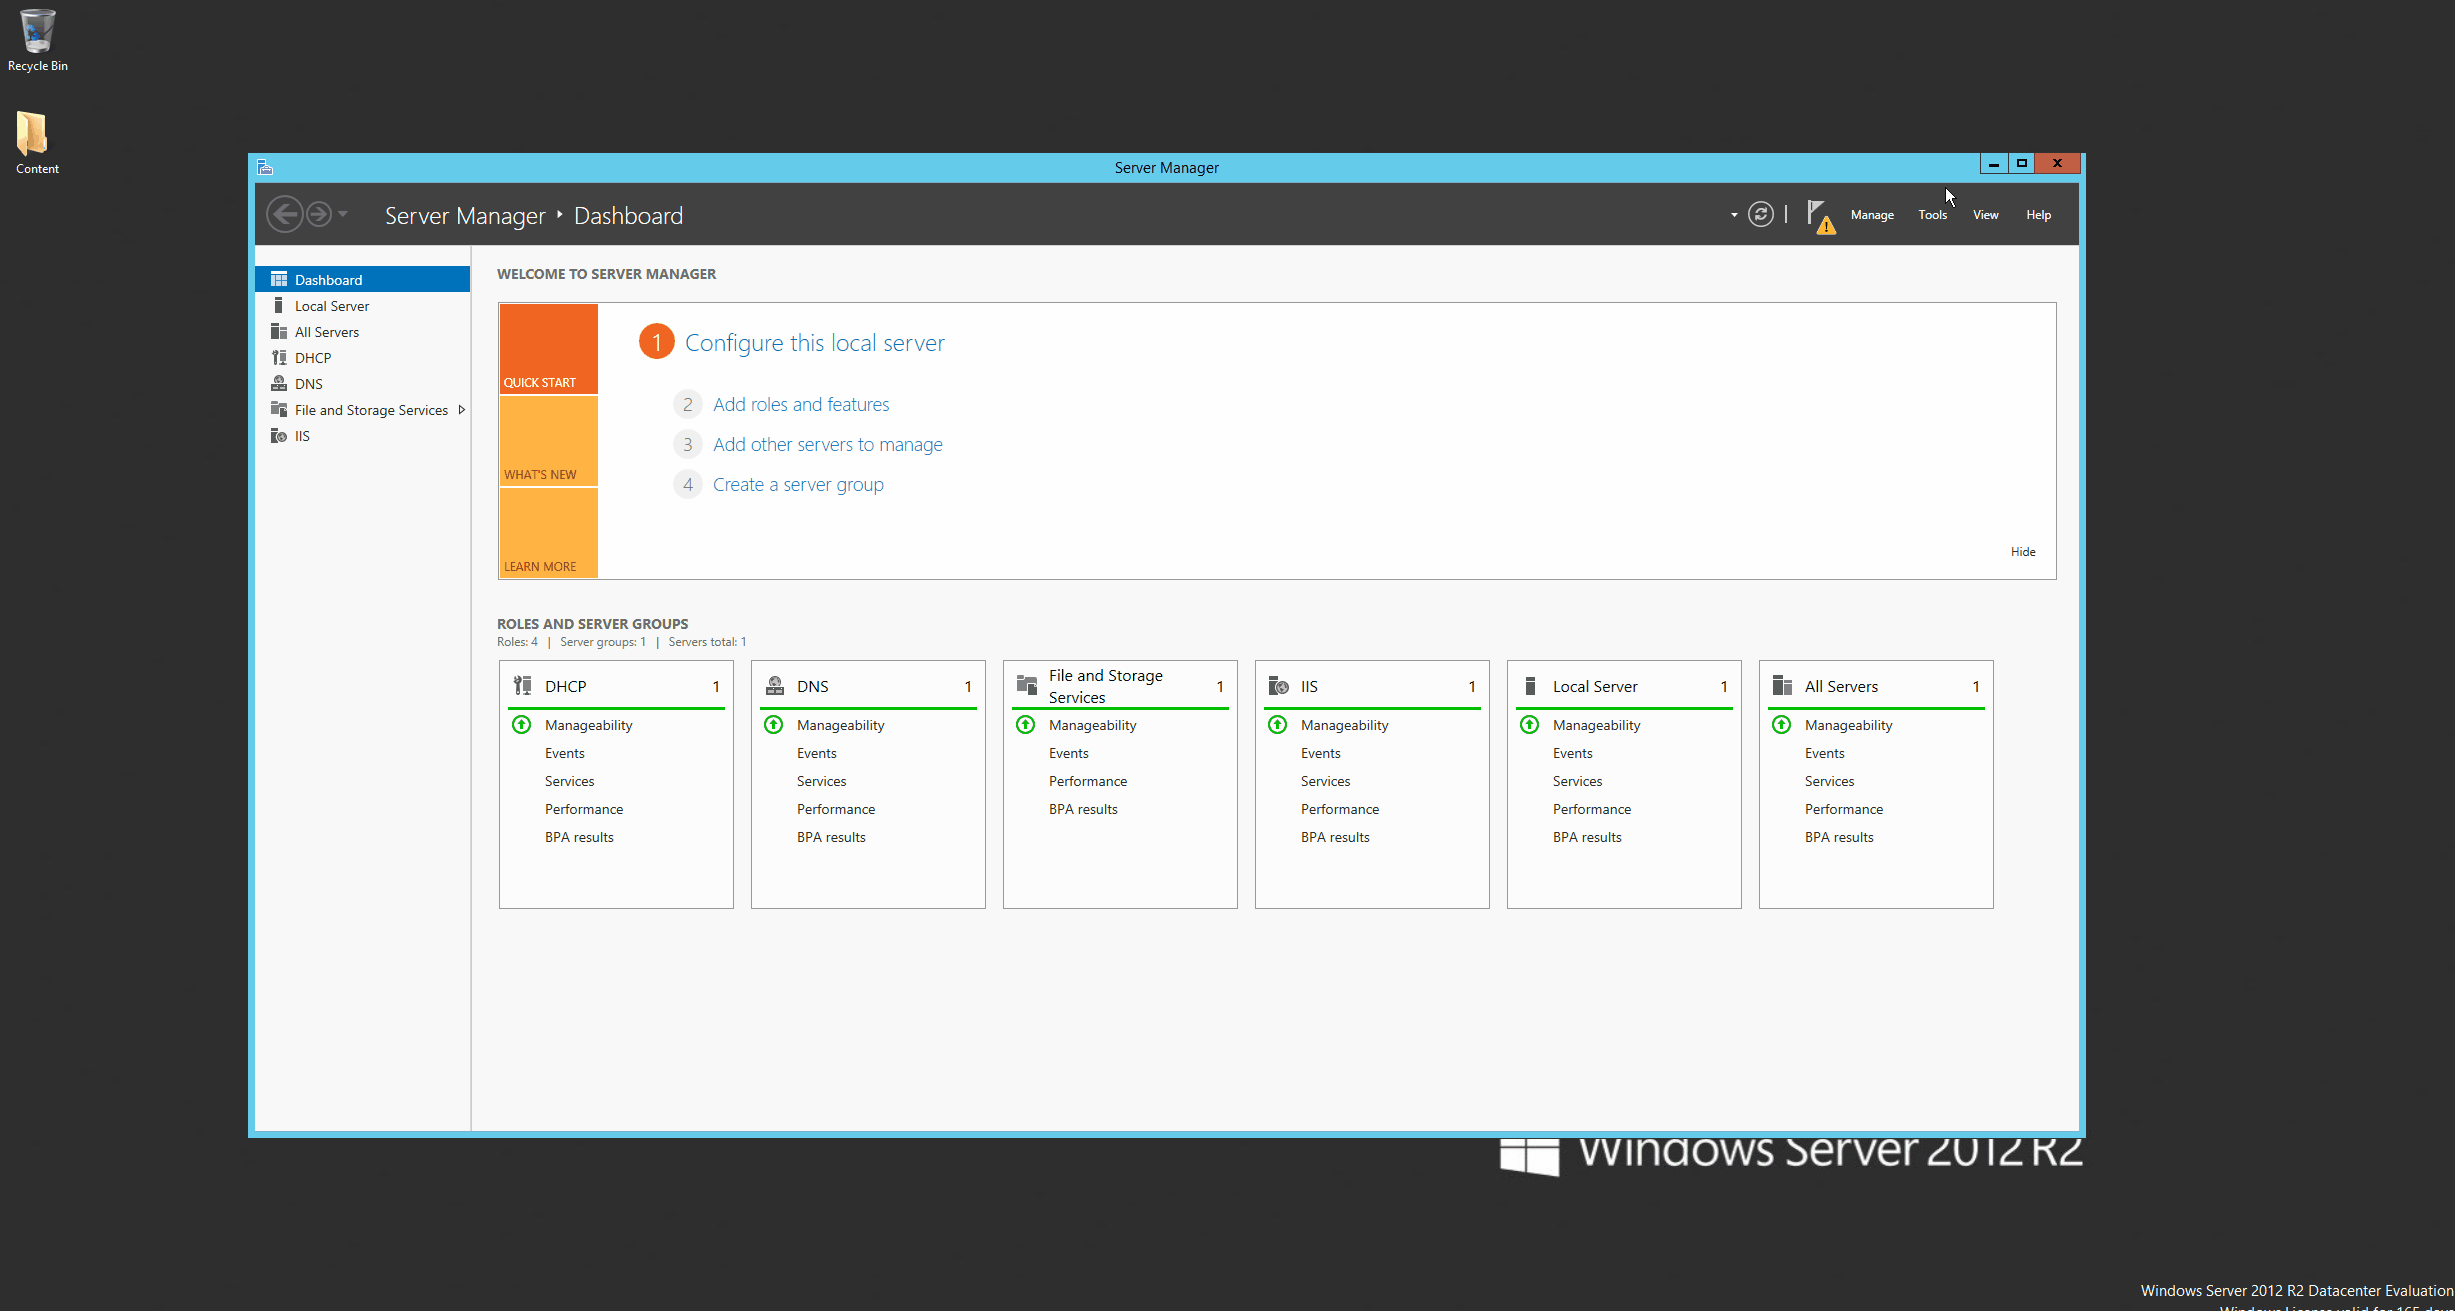
Step Three – Installing & Setting Up DNS & DHCP On Windows Server 2012 R2
- As step two, Launch Server Manager and Click On Manage and then Add Roles and Features. Keep clicking next until the page Server Roles.
- Scroll down and Check the check box beside DHCP Server & DNS Server, click Add Features when a pop appears.
- Click next through all the pages until “Confirm Installation Process” and proceed to Install.

Click the gif to open in a new tab
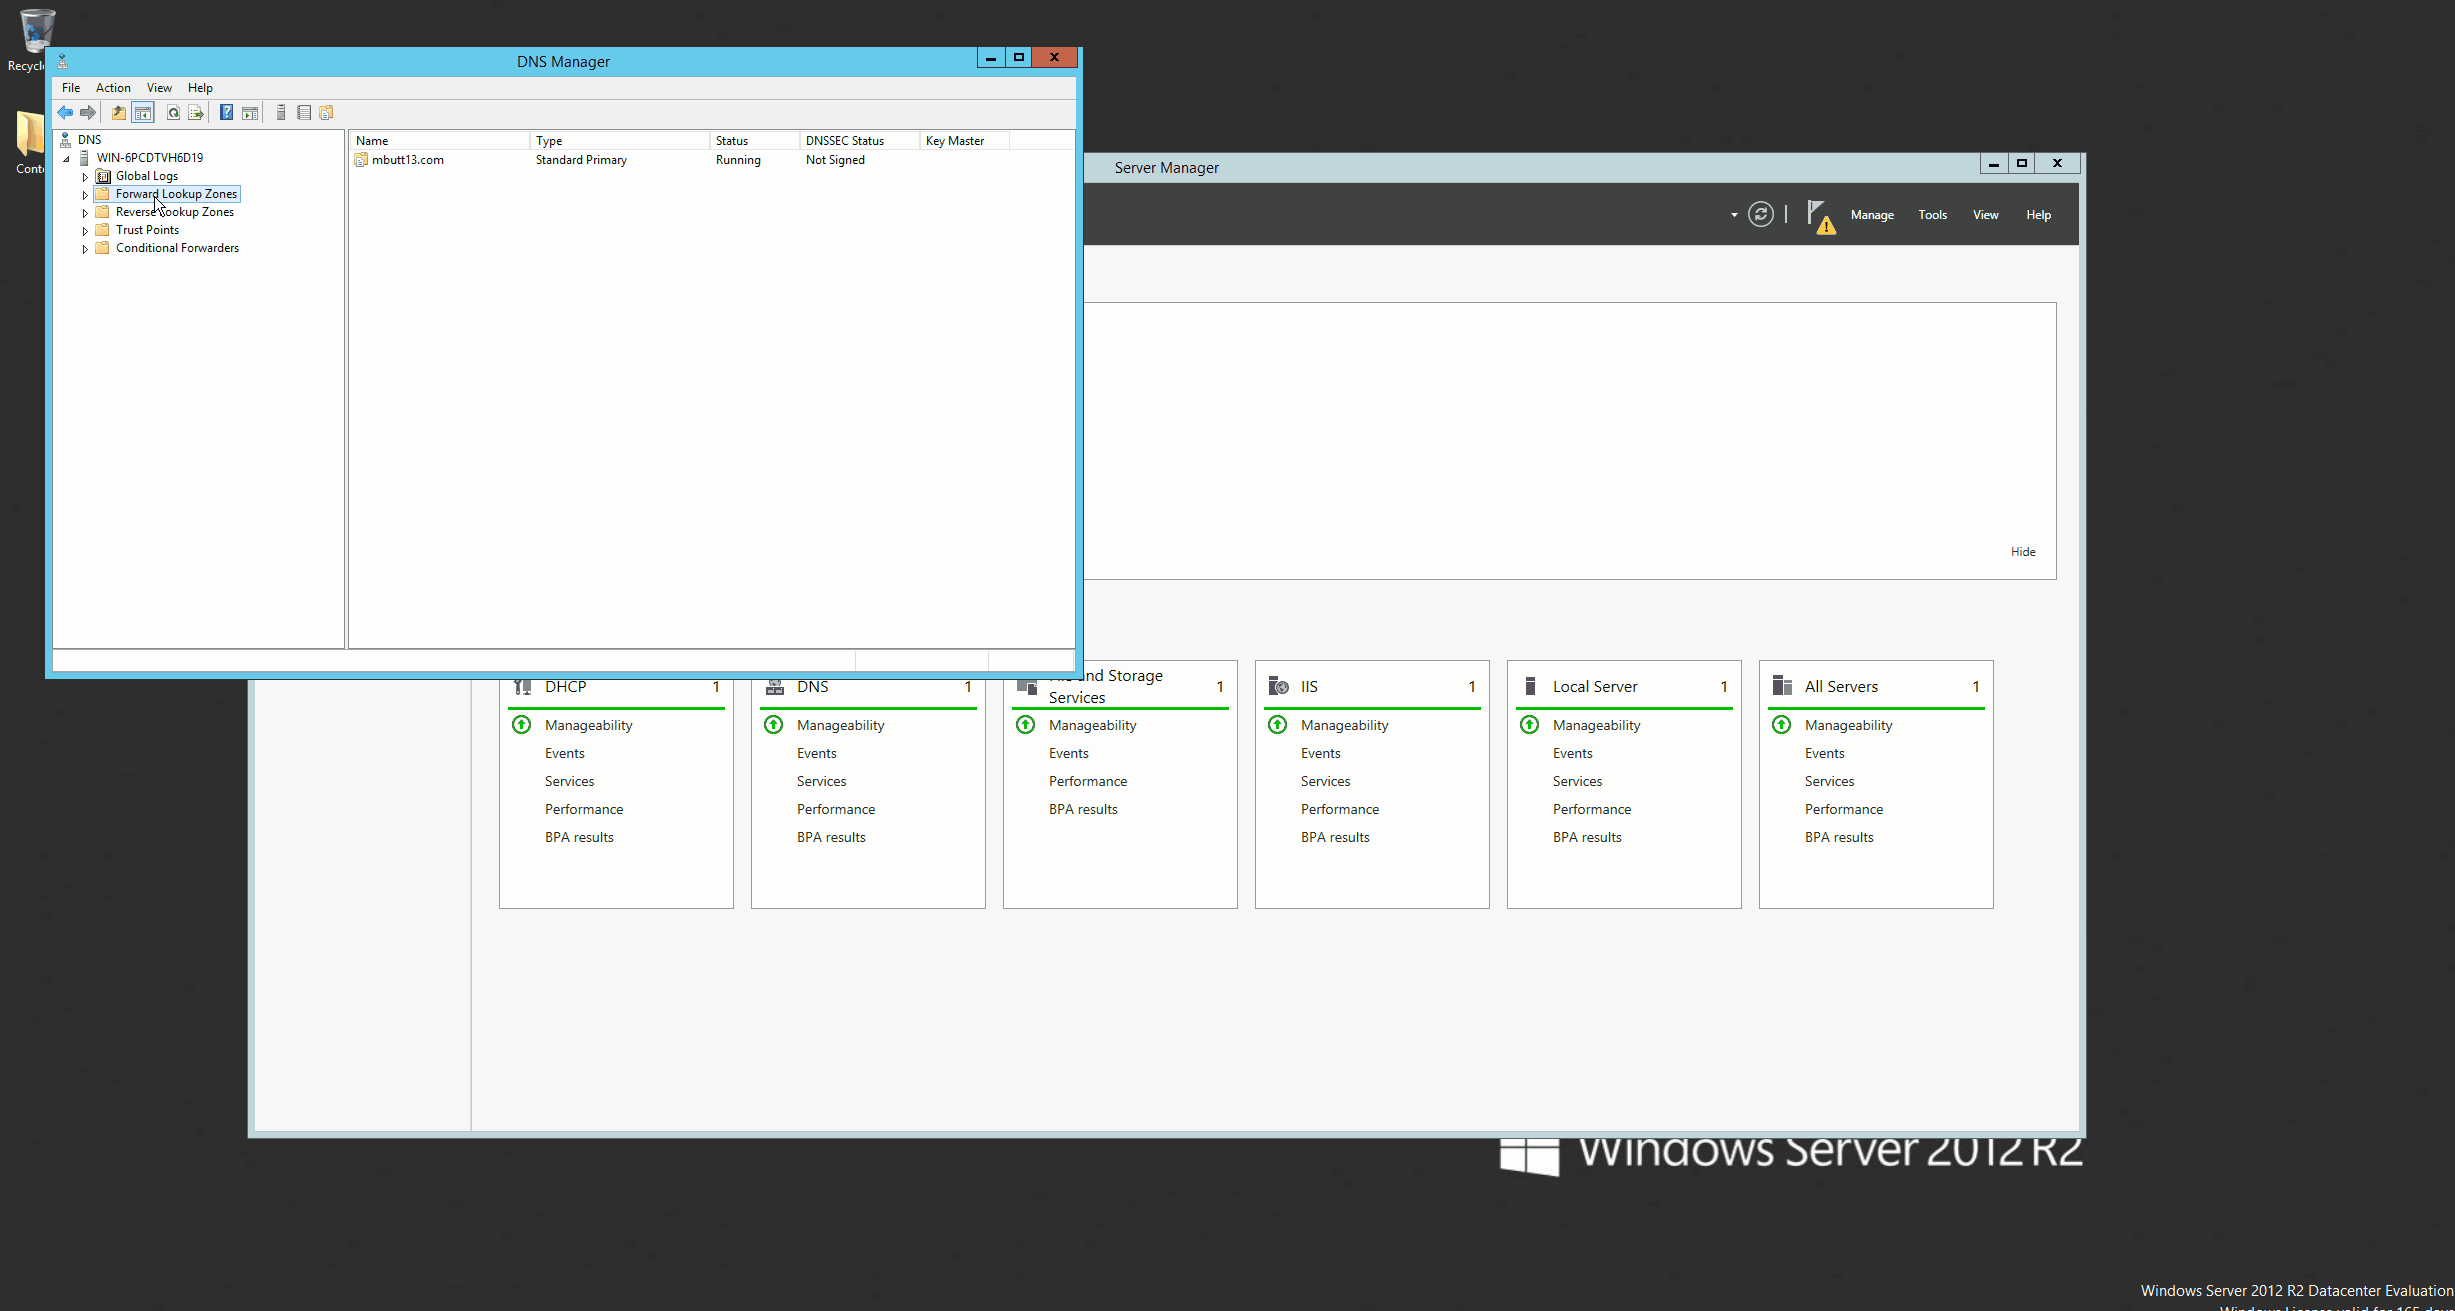
Setting Up DNS
- In server Manager click Tools and in the drop down click DNS.
- In the DNS Manager window double click the computer name int the left pane under DNS.
- Right click Forward Lookup Zones and the New Zone to create a new Forward Lookup Zone.
- Keep clicking next in the New Zone Wizard Window until Zone Name page.
- In the Zone Name Page enter a zone name (domain name) and keep clicking next and the Finish.
Instructions are similar to create the Reverse Lookup Zone.
Adding Hosts to DNS Zone
- Double click click the Zone just created.
- Right click in the right pane and click New host (A or AAAA).
- Enter the name of the host in the Name field and the IP address of the host in the IP address field.
- Check the box before Create associated pointer (PTR) record and click Add Host.
- Repeat the process to add additional hosts.
After adding hosts, either reload DNS or Update Server Data file.
Setting Up DHCP
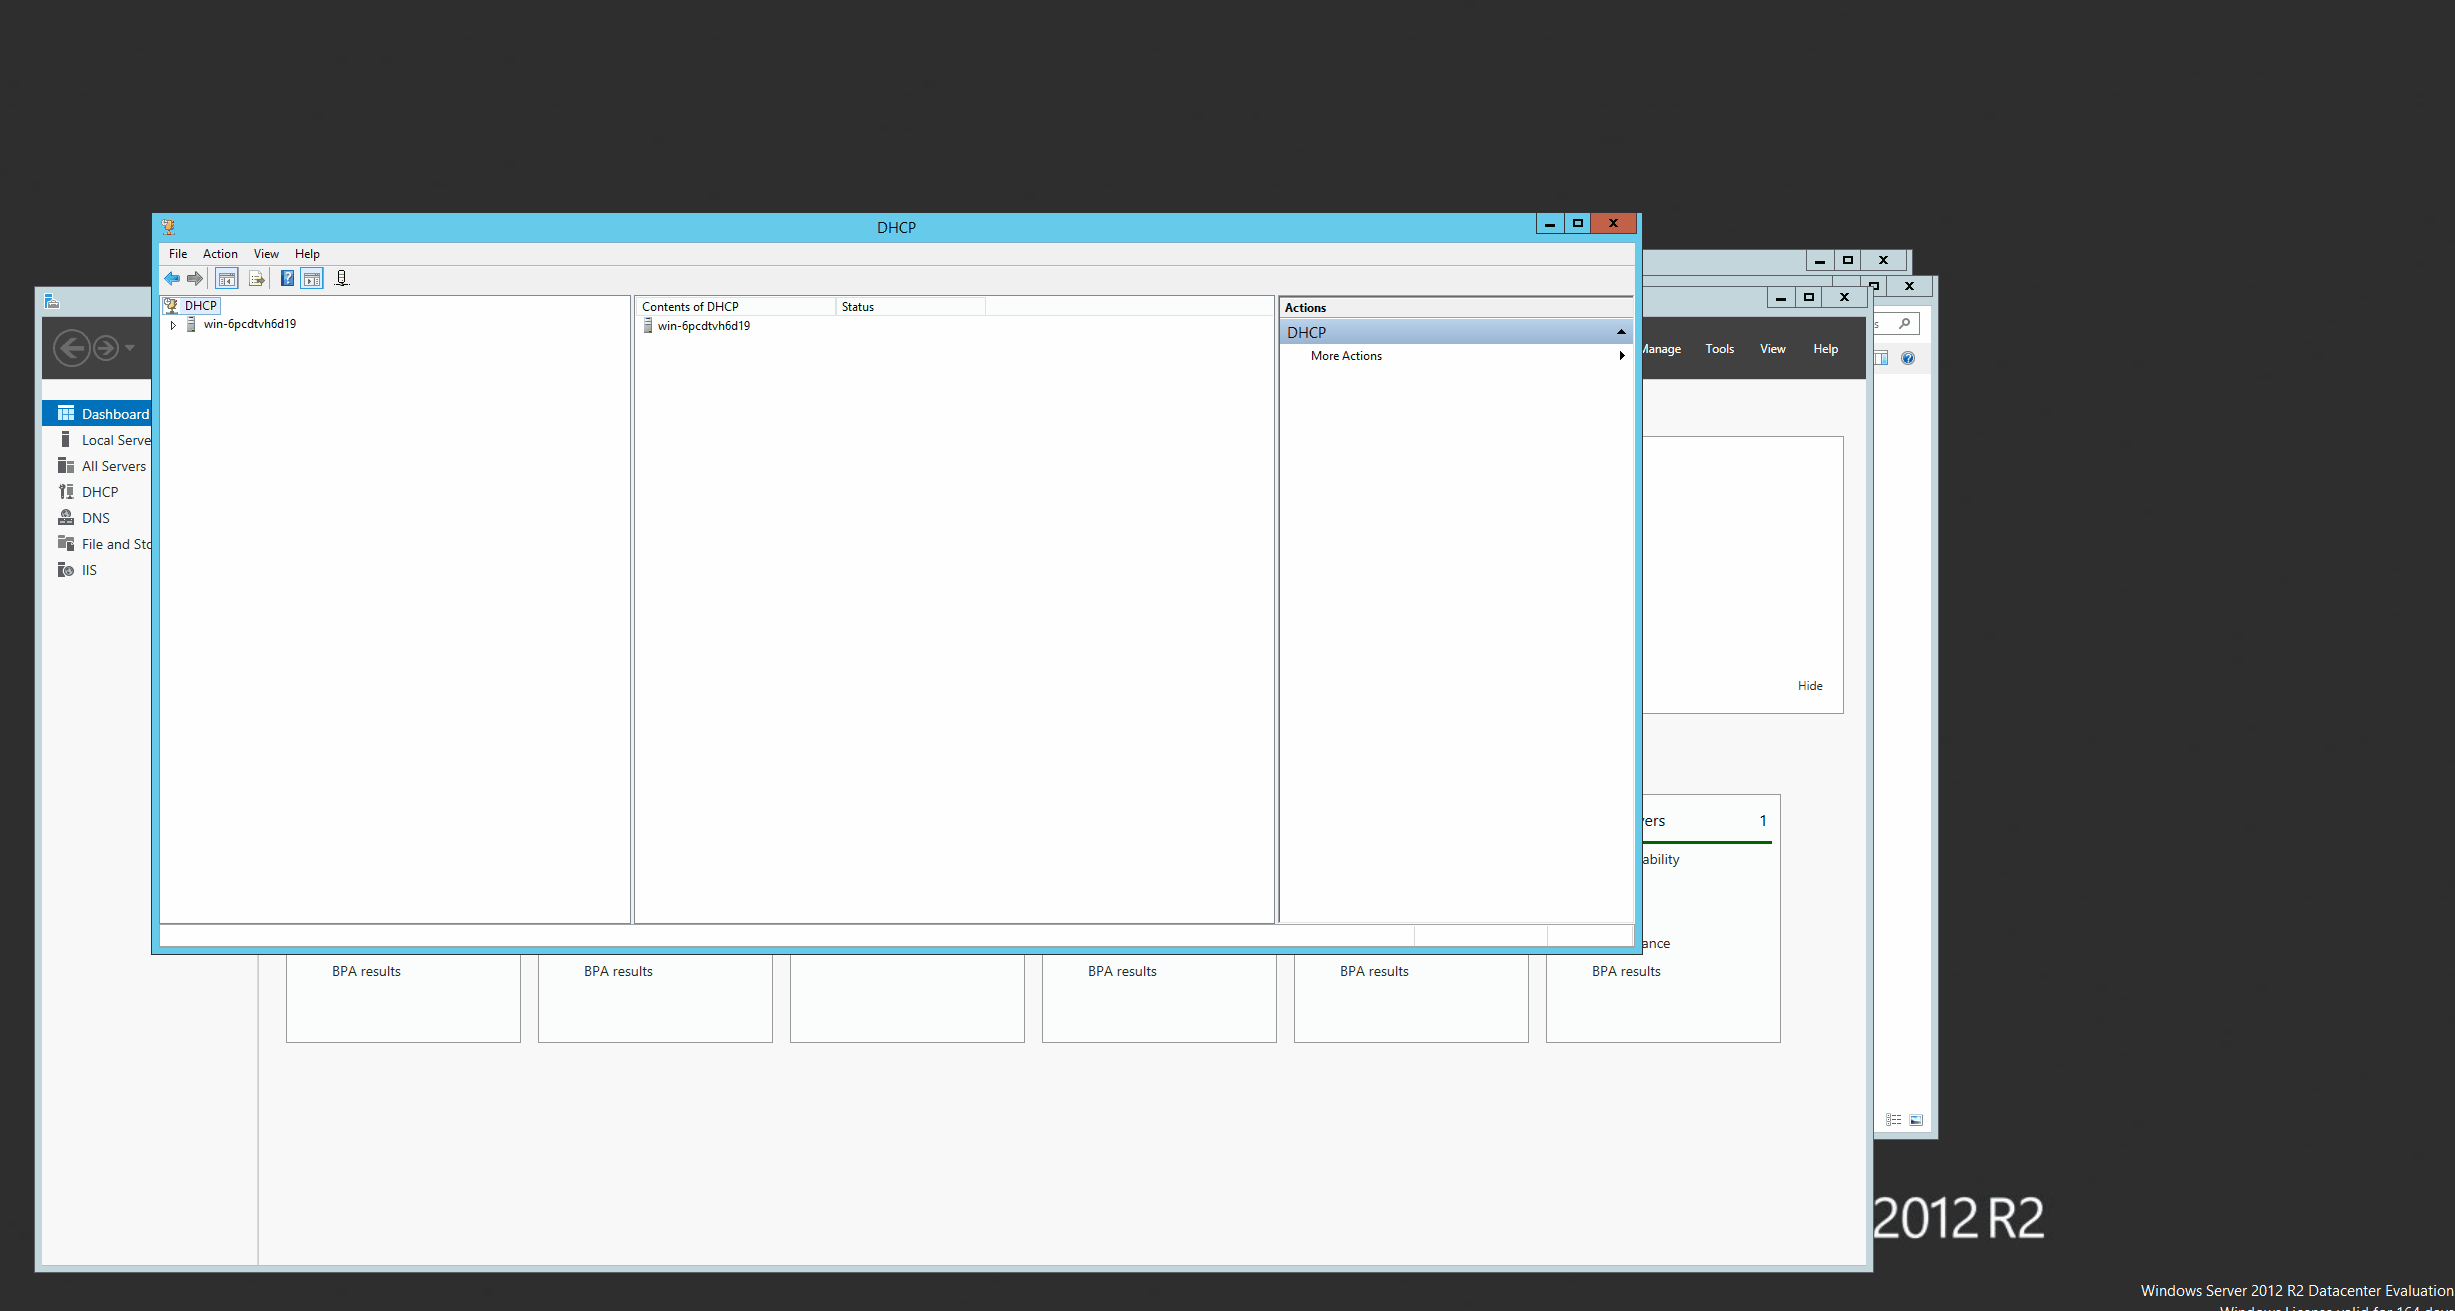
- Launch DHCP Console.
- In the right pane click on the servers hostname to expand.
- Select and Right click IPv4 and select New Scope.
- Click Next.
- In Scope Name window type in a Scope Name and it’s Description and click next.
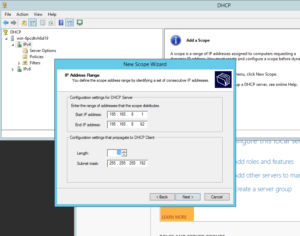
- In the IP Address Range window add a starting IP address and Ending IP Address (Make sure the subnet mask is correct). Click Next.
- In ‘Add Exclusive and Delay’ Add an IP address range or just a single IP to exclude from the DHCP OFFER and Click Next when Done.
- Keep clicking next until Router (Default Gateway) screen.
- Add the IP Address of your router and Click Next.
- In the Domain Name and DNS Servers add the DNS Server if not automatically added and Click Next.
- Keep clicking Next and the Finish.

Click on GIF to open in a new tab
Step Four – Installing & Setting Up DHCP-Relay On Linux Router (Debain 8)
In this step, isc-dhcp-relay will be used as a relay to forward DHCP packets between Client and the DHCP server.
- Log in as root:
[root@router ~]$ su - - Install isc-dhcp-relay:
[root@router ~]$ apt-get install isc-dhcp-relay -y - Edit the file /etc/default/isc-dhcp-relay
[root@router ~]$ nano /etc/default/isc-dhcp-relay - Add the address of your server in the line where it says SERVERS in between the quotes.
SERVERS="195.165.8.70" - Add the interfaces of the client and DHCP server where it states INTERFACES.
INTERFACES="eth1 eth3" - To apply changes restart the isc-dhcp-relay
[root@router ~]$ systemctl restart isc-dhcp-relay
A sample isc-dhcp-relay file when completed.
# Defaults for isc-dhcp-relay initscript
# sourced by /etc/init.d/isc-dhcp-relay
# installed at /etc/default/isc-dhcp-relay by the maintainer scripts

#
# This is a POSIX shell fragment
#

# What servers should the DHCP relay forward requests to?
SERVERS="195.165.8.70"

# On what interfaces should the DHCP relay (dhrelay) serve DHCP requests?
INTERFACES="eth1 eth3"

# Additional options that are passed to the DHCP relay daemon?
OPTIONS=""
Step Five – Enabling IP Forwarding In Linux (Debian 8)
To make linux act as a router and send traffic from one interface to another, IP Forwarding need to be enabled.
- Log in as root
[root@router ~]$ su - - Edit the file /etc/sysctl.conf
[root@router ~]$ nano /etc/sysctl.conf - Uncomment the following line
net.ipv4.ip_forward = 1 - To make changes take effect, run the command:
[root@router ~]$ sysctl -p /etc/sysctl.conf