Step One – Setting Up SSH
Usually SSH comes pre-installed on Debian. In case SSH is not installed:
- Log in as root
[root@router ~]$ su - - Update the package list and upgrade the server if not done in the previous check point:
[root@router ~]$ apt-get update -y && apt-get upgrdae -y - Install the openssh-server package:
root@router:~# apt-get install openssh-server
Reading package lists... Done
Building dependency tree
Reading state information... Done
Suggested packages:
  ssh-askpass rssh molly-guard ufw monkeysphere
The following NEW packages will be installed:
  openssh-server
0 upgraded, 1 newly installed, 0 to remove and 32 not upgraded.
Need to get 331 kB of archives.
After this operation, 973 kB of additional disk space will be used.
Get:1 http://deb.debian.org/debian/ oldstable/main openssh-server amd64 1:6.7p1-5+deb8u4 [331 kB]
Fetched 331 kB in 0s (1,446 kB/s)
Preconfiguring packages ...
Selecting previously unselected package openssh-server.
(Reading database ... 171919 files and directories currently installed.)
Preparing to unpack .../openssh-server_1%3a6.7p1-5+deb8u4_amd64.deb ...
Unpacking openssh-server (1:6.7p1-5+deb8u4) ...
Processing triggers for systemd (215-17+deb8u7) ...
Processing triggers for man-db (2.7.0.2-5) ...
Setting up openssh-server (1:6.7p1-5+deb8u4) ...
- Change port to 2323/4242 for Router & Linux Server respectively:
root@router:~# nano /etc/ssh/sshd_config

# Package generated configuration file
# See the sshd_config(5) manpage for details

# What ports, IPs and protocols we listen for
Port 2323


...
- Enable and Start openssh:
root@router:~# systemctl start ssh
root@router:~# systemctl enable ssh
Synchronizing state for ssh.service with sysvinit using update-rc.d...
Executing /usr/sbin/update-rc.d ssh defaults
Executing /usr/sbin/update-rc.d ssh enable
Step 2 – Installing & Setting up FTP
In this step we will be using Filezilla Server as an FTP Server.
- Go to FileZilla-Project and Download FileZilla Server
- Install it; Click Next through all screens and leave everything as default.
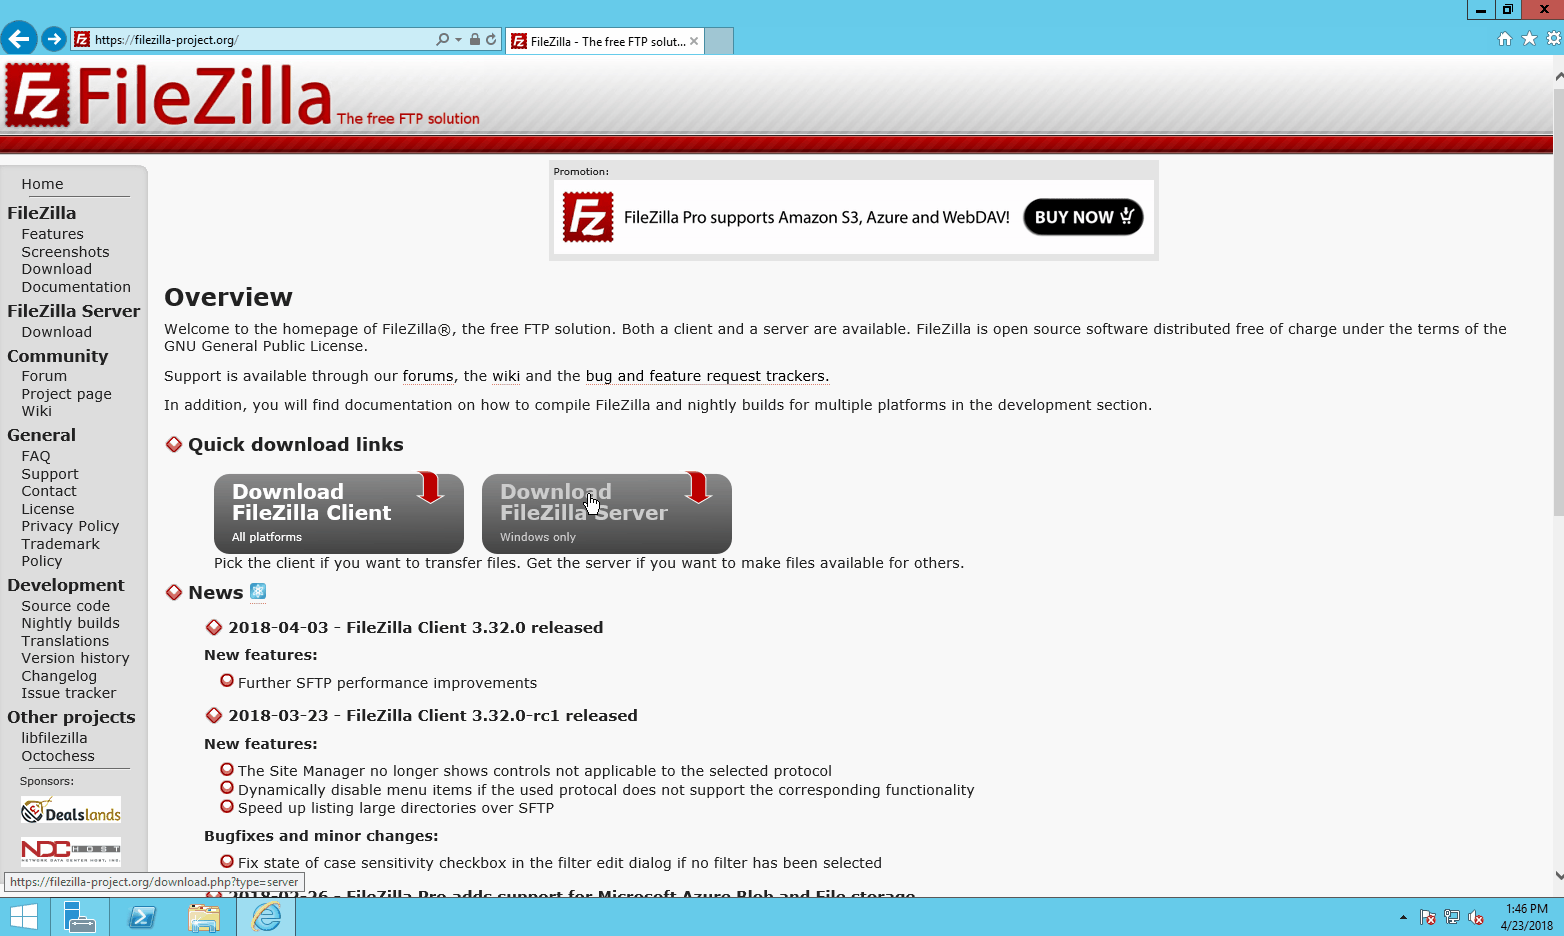
Click to open GIF in Full Size
Configuring FileZilla Server and Adding Users
- Launch FileZilla Server
- Click Edit > Settings
- Click Passive Mode Settings
- Tick the Custom Port Range and fill both boxes with 20 as port
- Click Ok
- Click Edit > Users
- In the Right Pane under Users Click Add
- In the popup Enter the Username and click OK
- Highlight the Created user and Check the Box Password in the Middle pane
- Type in use password and Click Ok
- In the Shared Folders Page Click Add in The Middle Pane
- Browse To previously created Folder or Create a new Folder and Click Ok
- Click Set as home dir and Click Ok
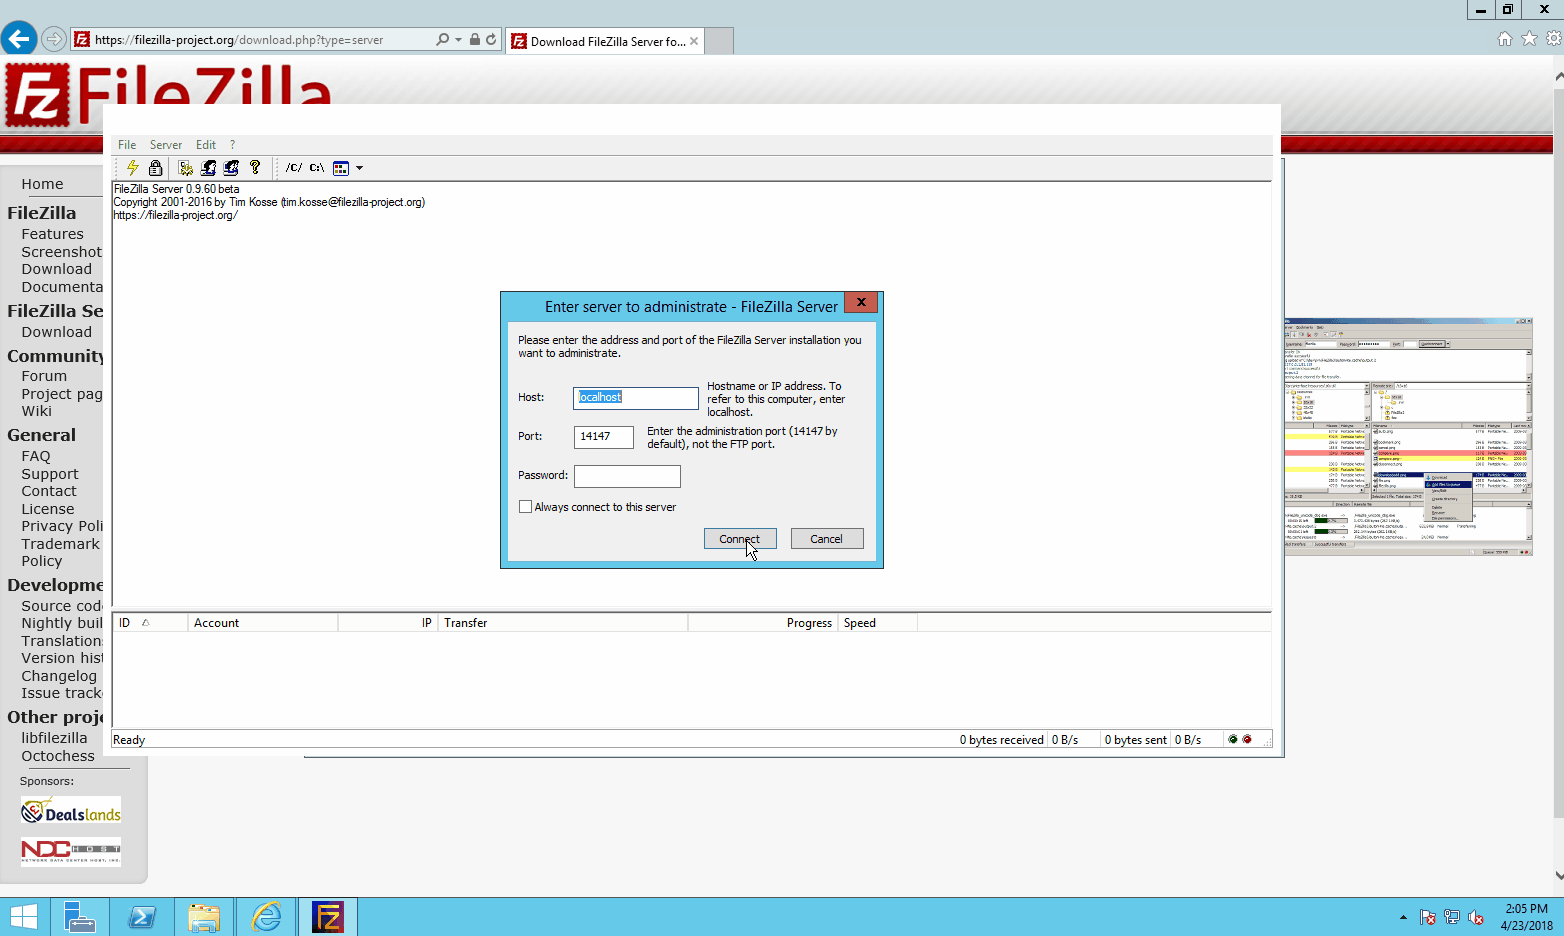
Click the gif to open in Full size
Step 3 – Installing & Setting up MySQL
Before installing MySQL we need to install .Net Framework 4.5.2 to run the MySQL installer.
- Download the .NET Framework 4.5.2 from Microsoft
- Run it and Wait for it to Extract Filles
- Agree to terms and Install.
- When Installed Restart the VM

Click to open GIF in Full Size
Now we also need to Uninstall and Install a couple more things to install the Actual MySQL server.
- Uninstall Visual C++ 2015 and Restart
- Update Windows Server using the Update tool From Microsoft. Download tool; Run it and Restart.
- Download and Install Visual C++ 2015 and restart
Installing MySQL Community installer
- Go to MySQL to download the MySQL Community installer
- Install and Open the MySQL installer
- Agree to terms and Click Next
- Leave Setup Type as Developer Default and Click Next
- Keep clicking Next
- On The Requirements Page If you see requirement for something other then Connector For Python make sure you have followed the previous steps
- Click next and Click yes for the pop up stating requirements have not been satisfied
- On installation page Click Execute, wait for it to install and then Next
- Keep clicking Next until Accounts and Roles
- Enter MySQL root password and Click Next
- Click Next and then Execute
- Wait for the installer to apply configuration and Click Next
- Enter root password and click Next
- Click Execute and then Next
- Click Finish

Click to open GIF in Full Size
Creating Database and users in MySQL
- Launch MySQL Workbench
- Click on Local Instance MySQL Router to login
- In the left pane under Schema Right Click and Create Scheme
- Enter Schema name and click Apply
- In the pop up window click Apply and then Finish
- In the left pane under Schema Double Click the newly created scheme
- Right Click Tables and Create new tables as desired
- In top Menu click Server > Users and Privileges
- Click Add Account at the bottom of User Accounts Pane
- In the right pane type in new username and password and click Apply
- Click the tab Schema Privileges to assign privileges
- Click Add Entry and choose Database/Schema you want the user to gain privileges for and click ok
- In Object Rights Choose what privileges you want to give the user. Check SELECT for read only privilege.
- Click Apply

Step 4 – Installing & Setting up hMail
For our mail server, hMail will be used to deliver mail. But, before installing we need to install .NET framework 3.5 to run the hmail server.
- Open up server manager
- Click Manage > Add Roles and Features
- In the pop up window click Next until Features Page
- Check the box against .Net Framework 3.5 Features
- Click Next
- At the bottom click Specify an alternate source path
- Enter
C:/Sources/SxS/and click OK - Click Install
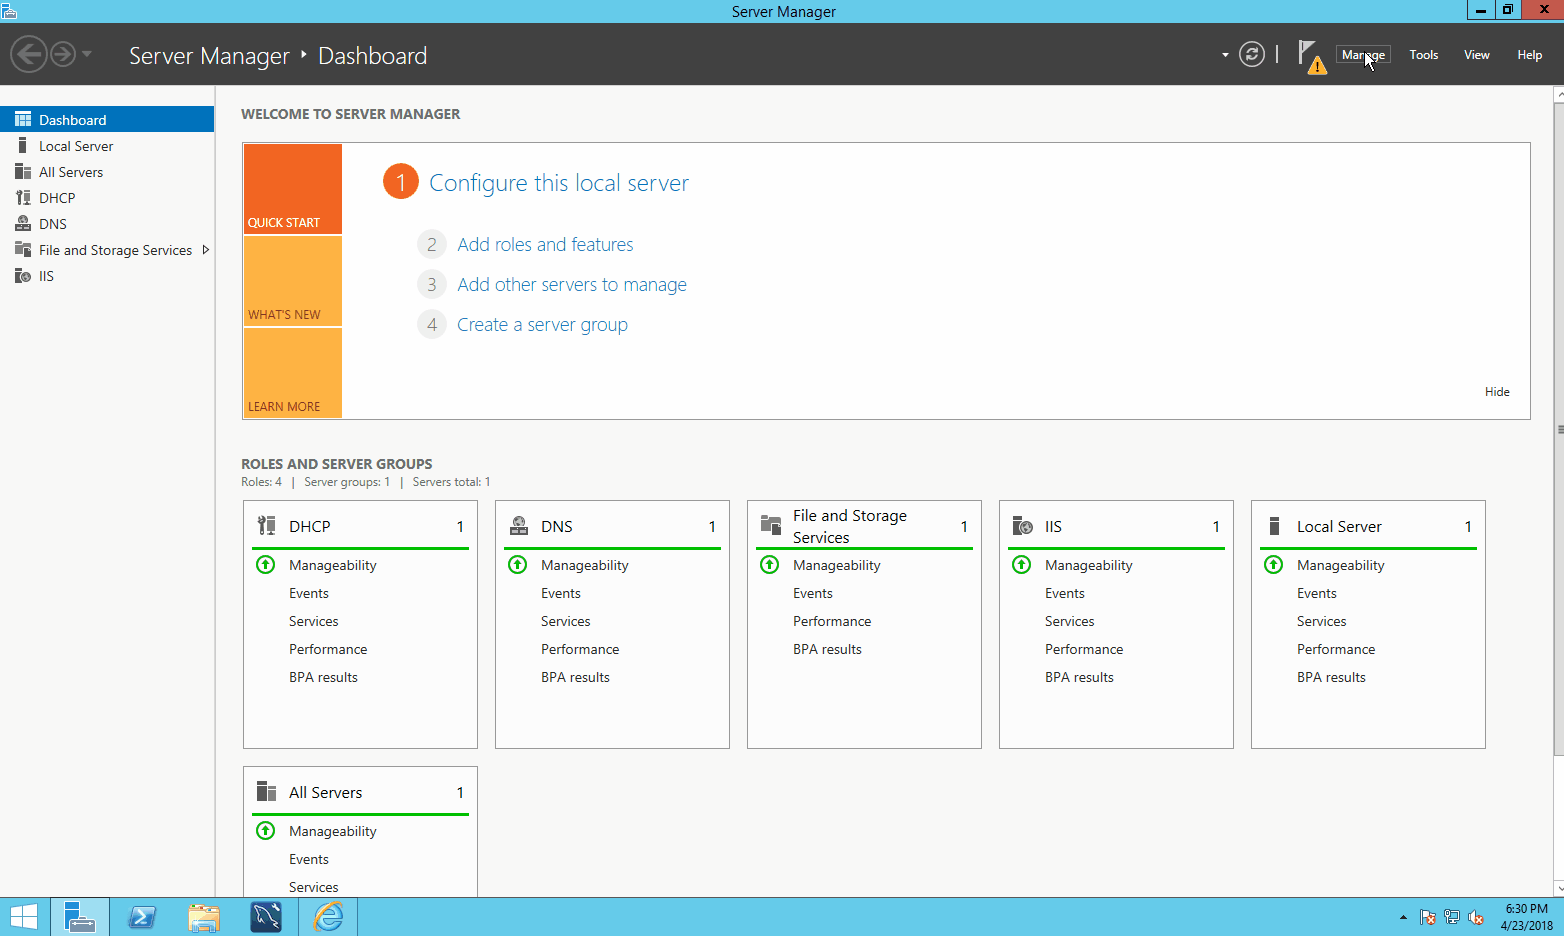
Click on GIF to open in a new tab
hMail Server Installation:
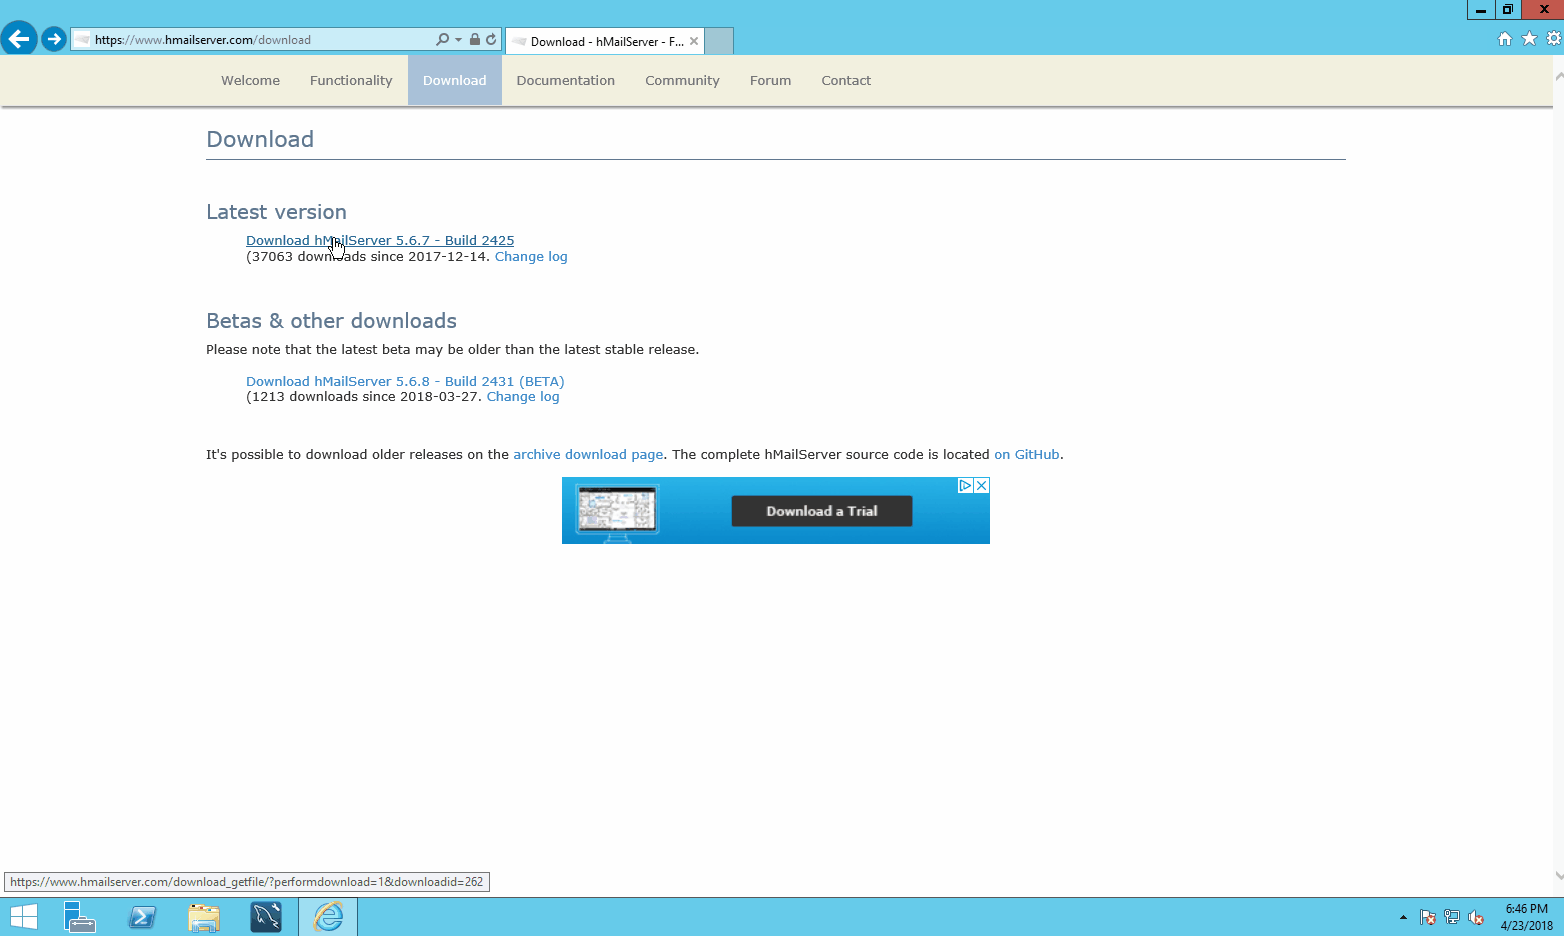
- Go to hMail Server and download
- Run the installer
- Agree to terms
- Leave Everything as Deufalt
- Enter Password for hMail admin
- Install
Configure hMail:
- Start hMailServer Administrator.
- Click Connect
- Enter password and Click OK
- Click Add Domain
- Enter the name of your domain and click Save.
- Click Add account > add a new email account.
- Go to Settings > Protocols > SMTP and choose the Delivery of email tab.
- In the Host name setting, enter
winsrv.domain.com
Adding Users:
- Click Domains in the right pane
- Click your domain
- Click Accounts > Add
- In the address field type in username
- Enter password
- Click OK
Click on GIF to open in a new tab
Using the previous checkpoint add an MX Record for winsrv.domain.com for mail server to receive and send mail.
Step 5 – Securing the Router with Iptables
Securing the router so only our network can send traffic through it.
#!/bin/bash
#Flush iptables
iptables -F

#Set the policy to DROP
iptables -P INPUT DROP
iptables -P FORWARD DROP
iptables -P OUTPUT DROP

#Create the appropriate logging Chains
iptables -N INPUT-ACCEPT
iptables -N INPUT-DROP
iptables -N OUTPUT-ACCEPT
iptables -N OUTPUT-DROP
iptables -N FORWARD-ACCEPT
iptables -N FORWARD-DROP

#Rules for INPUT-ACCEPT chain
iptables -A INPUT-ACCEPT -j LOG --log-prefix "INPUT-ACCEPTED"
iptables -A INPUT-ACCEPT -j ACCEPT

#Rules for INPUT-DROP chain
iptables -A INPUT-DROP -j LOG --log-prefix "INPUT-DROPPED"
iptables -A INPUT-DROP -j DROP

#Rules for OUPUT-ACCEPT chain
iptables -A OUTPUT-ACCEPT -j LOG --log-prefix "OUTPUT-ACCEPTED"
iptables -A OUTPUT-ACCEPT -j ACCEPT

#Rules for OUTPUT-DROP chain
iptables -A OUTPUT-DROP -j LOG --log-prefix "OUTPUT-DROPPED"
iptables -A OUTPUT-DROP -j DROP

#Rules for FORWARD-ACCEPT chain
iptables -A FORWARD-ACCEPT -j LOG --log-prefix "FORWARD-ACCEPTED"
iptables -A FORWARD-ACCEPT -j ACCEPT

#Rules for FORWARD-DROP chain
iptables -A FORWARD-DROP -j LOG --log-prefix "FORWARD-DROPPED"
iptables -A FORWARD-DROP -j DROP

#SSH/SCP to Router
iptables -A INPUT -p tcp -s 195.165.8.0/26 --dport 2323 -m state --state NEW,ESTABLISHED,RELATED -j INPUT-ACCEPT
iptables -A OUTPUT -p tcp -d 195.165.8.0/26 --sport 2323 -m state --state ESTABLISHED,RELATED -j OUTPUT-ACCEPT

#SSH/SCP to Server
iptables -A FORWARD -p tcp -s 195.165.8.0/26 --dport 4242 -m state --state NEW,ESTABLISHED,RELATED -j FORWARD-ACCEPT
iptables -A FORWARD -p tcp -d 195.165.8.0/26 --sport 4242 -m state --state ESTABLISHED,RELATED -j FORWARD-ACCEPT

#IIS
iptables -A FORWARD -p tcp -s 195.165.8.0/26 --dport 9393 -m state --state NEW,ESTABLISHED,RELATED -j FORWARD-ACCEPT
iptables -A FORWARD -p tcp -d 195.165.8.0/26 --sport 9393 -m state --state ESTABLISHED,RELATED -j FORWARD-ACCEPT

#Apache
iptables -A FORWARD -p tcp -s 195.165.8.0/26 --dport 8383 -m state --state NEW,ESTABLISHED,RELATED -j FORWARD-ACCEPT
iptables -A FORWARD -p tcp -d 195.165.8.0/26 --sport 8383 -m state --state ESTABLISHED,RELATED -j FORWARD-ACCEPT

#MySQL
iptables -A FORWARD -p tcp -s 195.165.8.0/26 --dport 3306 -m state --state NEW,ESTABLISHED,RELATED -j FORWARD-ACCEPT
iptables -A FORWARD -p tcp -d 195.165.8.0/26 --sport 3306 -m state --state ESTABLISHED,RELATED -j FORWARD-ACCEPT

#HMAIL IMAP
iptables -A FORWARD -p tcp -s 195.165.8.0/26 --dport 143 -m state --state NEW,ESTABLISHED,RELATED -j FORWARD-ACCEPT
iptables -A FORWARD -p tcp -d 195.165.8.0/26 --sport 143 -m state --state ESTABLISHED,RELATED -j FORWARD-ACCEPT

#HMAIL SMTP
iptables -A FORWARD -p tcp -s 195.165.8.0/26 --dport 25 -m state --state NEW,ESTABLISHED,RELATED -j FORWARD-ACCEPT
iptables -A FORWARD -p tcp -d 195.165.8.0/26 --sport 25 -m state --state ESTABLISHED,RELATED -j FORWARD-ACCEPT

#DNS
iptables -A FORWARD -p tcp -s 195.165.8.0/26 --dport 53 -m state --state NEW,ESTABLISHED,RELATED -j FORWARD-ACCEPT
iptables -A FORWARD -p tcp -d 195.165.8.0/26 --sport 53 -m state --state ESTABLISHED,RELATED -j FORWARD-ACCEPT
iptables -A FORWARD -p udp -s 195.165.8.0/26 --dport 53 -m state --state NEW,ESTABLISHED,RELATED -j FORWARD-ACCEPT
iptables -A FORWARD -p udp -d 195.165.8.0/26 --sport 53 -m state --state ESTABLISHED,RELATED -j FORWARD-ACCEPT

#DHCP
iptables -A INPUT -p udp --dport 67:68 -m state --stateNEW,ESTABLISHED,RELATED -j INPUT-ACCEPT
iptables -A OUTPUT -p udp --sport 67:68 -m state --stateNEW,ESTABLISHED,RELATED -j OUTPUT-ACCEPT
iptables -A FORWARD -p udp --dport 67:68 -m state --stateNEW,ESTABLISHED,RELATED -j FORWARD-ACCEPT
iptables -A FORWARD -p udp --sport 67:68 -m state --stateESTABLISHED,RELATED -j FORWARD-ACCEPT

#FTP UNENCRYPTED
iptables -A FORWARD -p tcp -s 195.165.8.0/26 --dport 21 -m state --state NEW,ESTABLISHED,RELATED -j FORWARD-ACCEPT
iptables -A FORWARD -p tcp -d 195.165.8.0/26 --sport 21 -m state --state ESTABLISHED,RELATED -j FORWARD-ACCEPT
iptables -A FORWARD -p tcp -s 195.165.8.0/26 --dport 20 -m state --state NEW,ESTABLISHED,RELATED -j FORWARD-ACCEPT
iptables -A FORWARD -p tcp -d 195.165.8.0/26 --sport 20 -m state --state ESTABLISHED,RELATED -j FORWARD-ACCEPT
Webmentions
[…] clindamicina en crema para qué sirve[…]
clindamicina en crema para qué sirve